Using Cloudinary and Storyblok to Handle Assets for a Vue.js Application
In one of my recent articles, we took a closer look at how to build websites with the Headless CMS Storyblok and Vue.js. In this article we‘ll learn how we can combine the awesome digital asset management platform Cloudinary with the power of Storyblok to automatically handle image optimazation for us. We‘ll also explore how we can use the additional data, like the dominant color or the aspect ratio of an image, provided by the Storyblok Cloudinary Assets plugin, to implement enhanced image lazy loading.
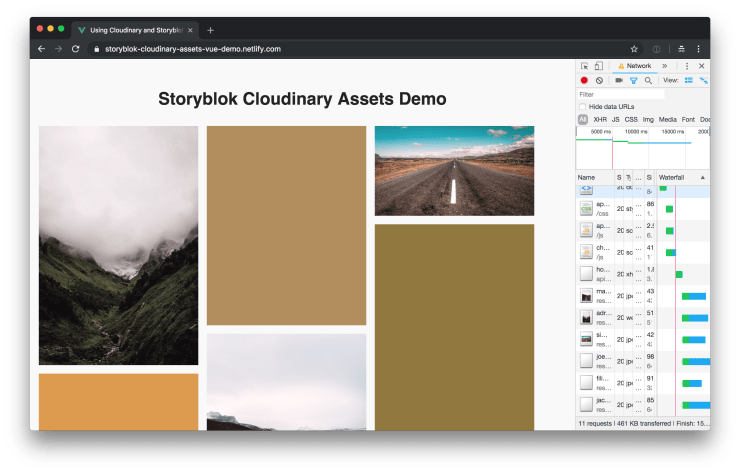
You can find a demo of the result hosted on Netlify and you can take a look at the code at GitHub.
Installing Storyblok Cloudinary Assets
Storyblok Cloudinary Assets is a custom field type plugin for the headless CMS Storyblok. In order to use it, we have to build and install it first. You can do this by cloning the Storyblok Cloudinary Assets plugin Git repository and then run the build command and copy and paste the generated code into Storyblok when it’s done.
git clone git@github.com:maoberlehner/storyblok-cloudinary-assets.git
cd storyblok-cloudinary-assets
npm install
npm run build
The build script generates the dist/export.js file. You can copy all the code in the file and paste it into a new custom Storyblok field type plugin which you can create in the Storyblok UI. To do this, go to the Plugins page and click the New button in the top right.
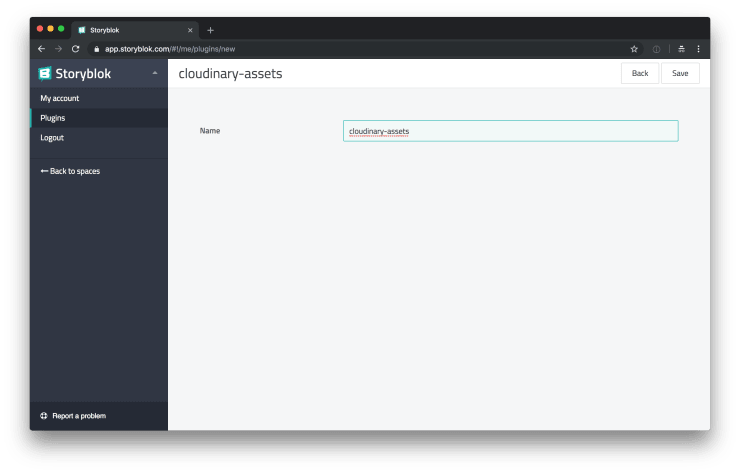
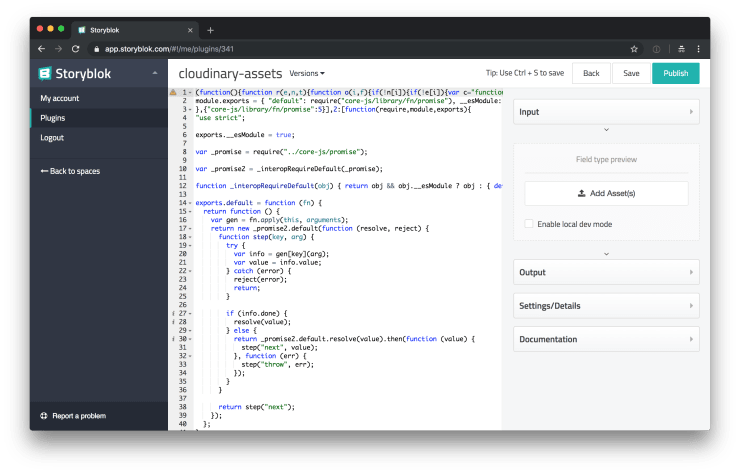
It is important to name your new custom field type plugin cloudinary-assets, otherwise it won’t work correctly. Next you can see the Storyblok plugin editor. Replace the demo code with the contents of dist/export.js. After publishing your newly created plugin, you’re able to select it as the custom type of your fields.
Usage in Storyblok
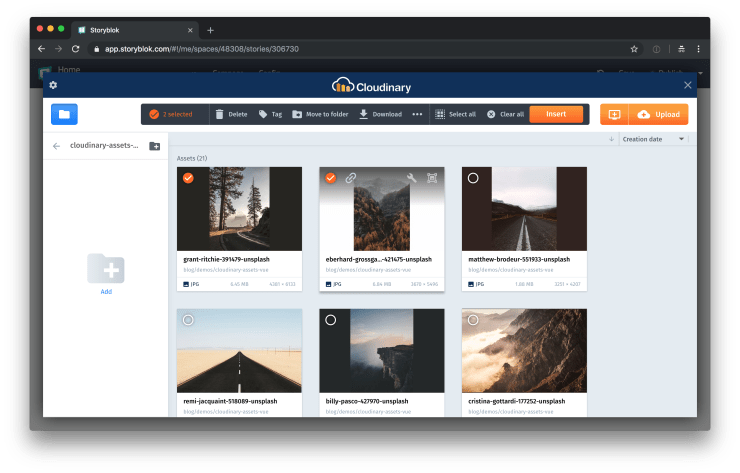
After you’ve configured one of your fields to use the Cloudinary Assets plugin as its field type, you’re ready to add assets to your stories via Cloudinary.
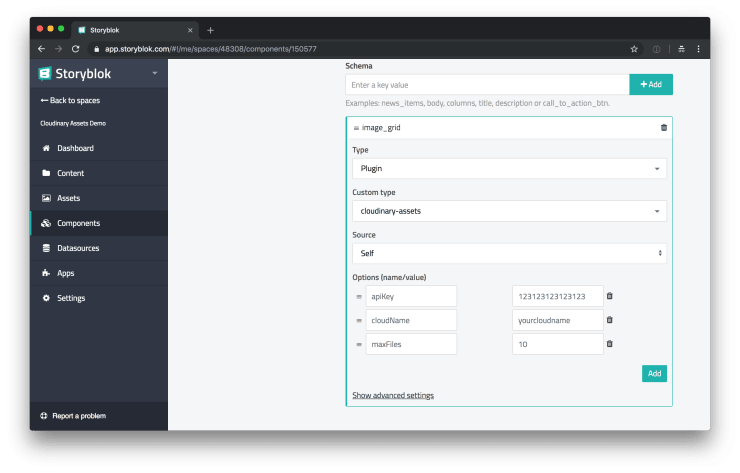
It is important to configure the plugin options correctly. You can find the apiKey and the cloudName in your Cloudinary account settings. The maxFiles option is optional, you can use it to limit the max files a user is allowed to add.
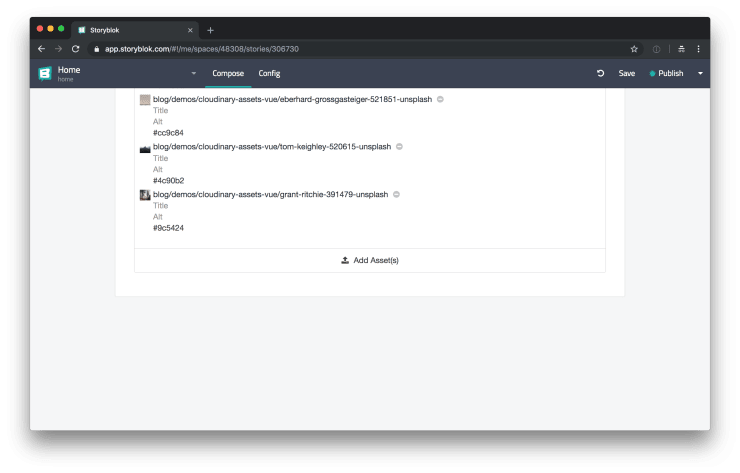
As you can see in the screenshot above, there is a hex color associated with the images. This is the dominant color of the image. Let’s take a look at how we can use this information to enhance the perceived performance of lazy loaded images.
Do you want to learn more about advanced Vue.js techniques?
Register for the Newsletter of my upcoming book: Advanced Vue.js Application Architecture.
Usage in Vue.js
I’ve already written a dedicated article about the topic of lazy loading images with Vue.js. We can reuse the AppImage component we’ve built in the previous article.
<app-image
  :background-color="image.dominant_color"
  :height="300 / image.aspect_ratio"
  :lazy-src="https://res.cloudinary.com/yourcloudname/image/upload/c_thumb,f_auto,g_center,q_auto,w_300/${image.id}"
  :lazy-srcset="`https://res.cloudinary.com/yourcloudname/image/upload/c_thumb,f_auto,g_center,q_auto,w_600/${image.id} 2x`"
  :width="300"
/>You can take a look at the full code at GitHub and you can see a demo of this hosted on Netlify.
Wrapping it up
Cloudinary provides us with a lot of awesome features to reduce the load time of images. It automatically optimizes not only the quality of your images, but also in which format the images are delivered to the browser. Browsers which do support webp for example, get images in this very efficient format, which can dramatically decrease the load time of your images.
By integrating Storyblok with Cloudinary, you get the best of two worlds: automatic image optimization with Cloudinary and the flexibility of the headless CMS Storyblok.